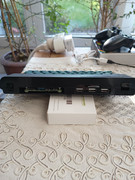
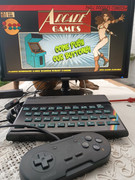
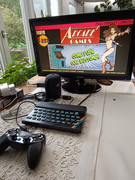
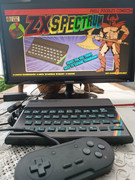
Project finished. The very limited production starts …
This is my first Retro Gaming ZX SPECTRUM Console (serial number: 01).
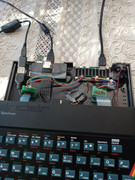
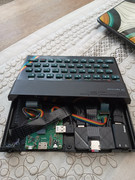
A few photos of same aspects of the assembly parts.

Material for the support:
4 x screws
4 x nuts
6 X washers
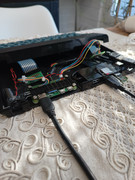
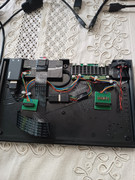
Attention ! It is necessary to cut off the excess metal from the two USB port fixings on the back of the board.
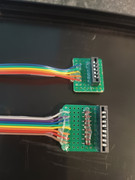
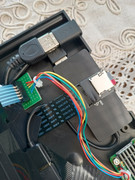
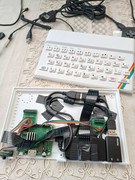
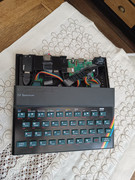
Material for membrane contacts:
Female/Male 'Extension' Jumper Wires - 20 x 6"
2 X Mini PCB
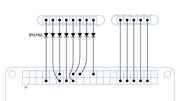
Keyboard membrane connector - 5 way type (Left side)
Keyboard membrane connector - 8 way type (right side)
8 X 1N4148 Diodes
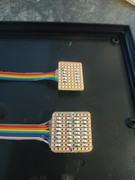
Cut the male connections of the jumper wires to solder on the PCB boards and save the female ends of the wires to connect to the Raspberry GPIO's pins.
Please note the orientation of the membrane connectors and the position/orientation of the diodes (black line).

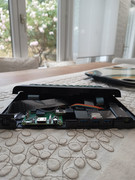
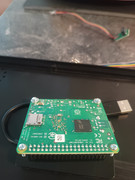
Material for this phase:
Micro SD Extension Cable - 45cm
4-Port USB Hub for Raspberry Pi
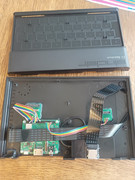
You also need:
Electrical silicone gun 12mm (to fix components)
Double-sided adhesive tape (to attach the USB Hub and Micro SD Extension Cable)
Insulating tape (to insulate the connections of the jumper wires to the GPIO)
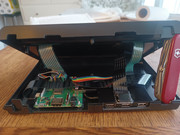
Attention! Remove the plastic protections from the female connections of the jumper wires and insulate them before connecting to the Raspberry GPIO's pins in order to be able to close the ZX Spectrum case properly.
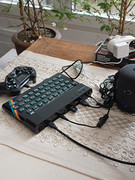
Of course! You also need to cut the upper and down part of the ZX case for the USB hub, the micro-SD and HDMI entries.
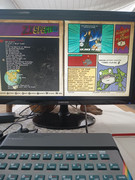
Enjoy !