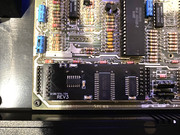
Just the one slight problem: I didn't know anything about digital electronics or circuit design. So I spoke with some clever people, watched an awful lot of YT videos and learned a bit about it. Eventually I managed to create a credible looking circuit which I needed to get made into a PCB. Another slight problem: I didn't know anything about PCB design or layout or fabrication either. I learned more and late last summer a pack of little green circuit boards dropped on the doormat. I needed to learn a bit about soldering surface mount components, and lamented I didn't try this before I got old and my eyesight stopped working properly, but I got there:
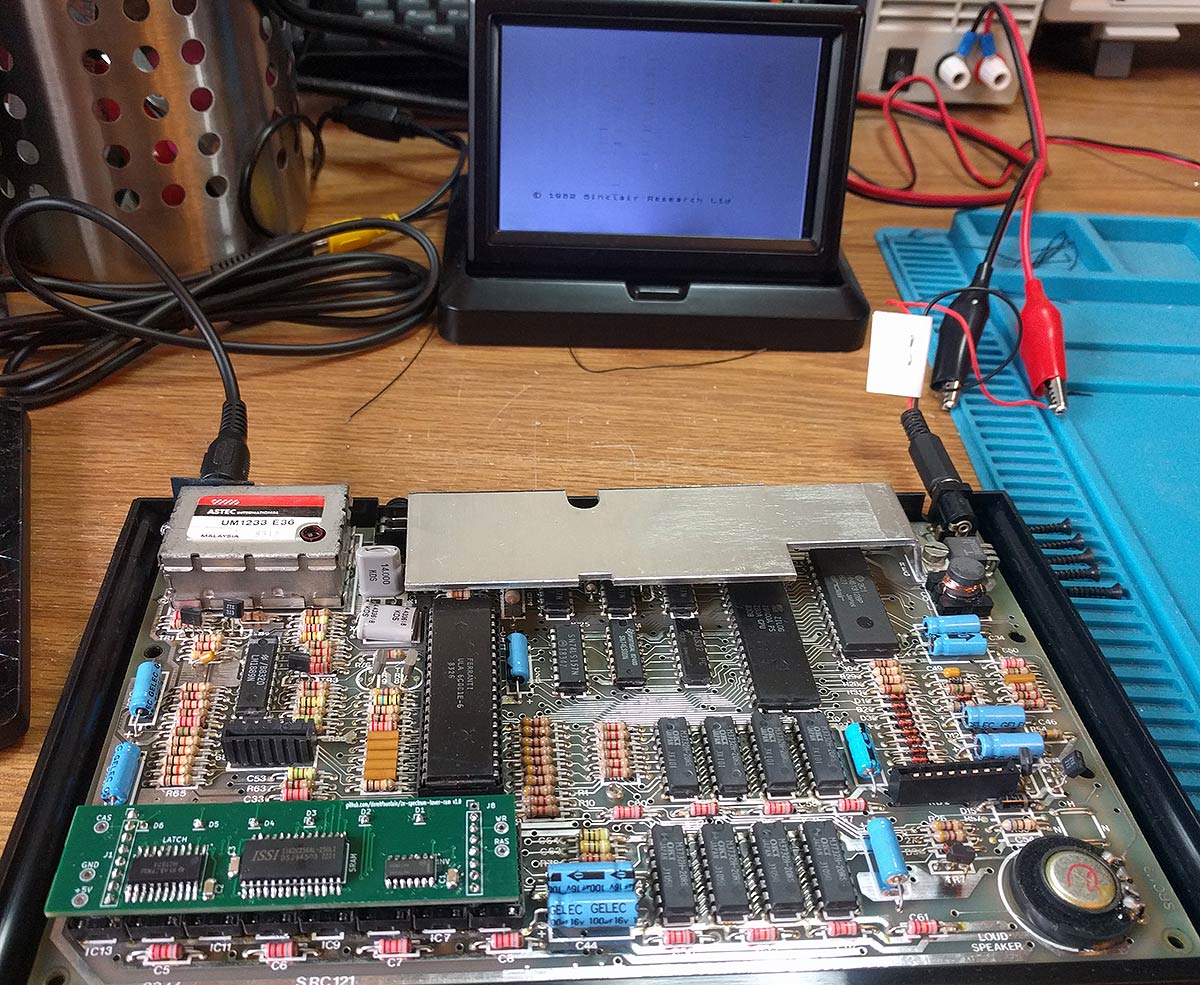
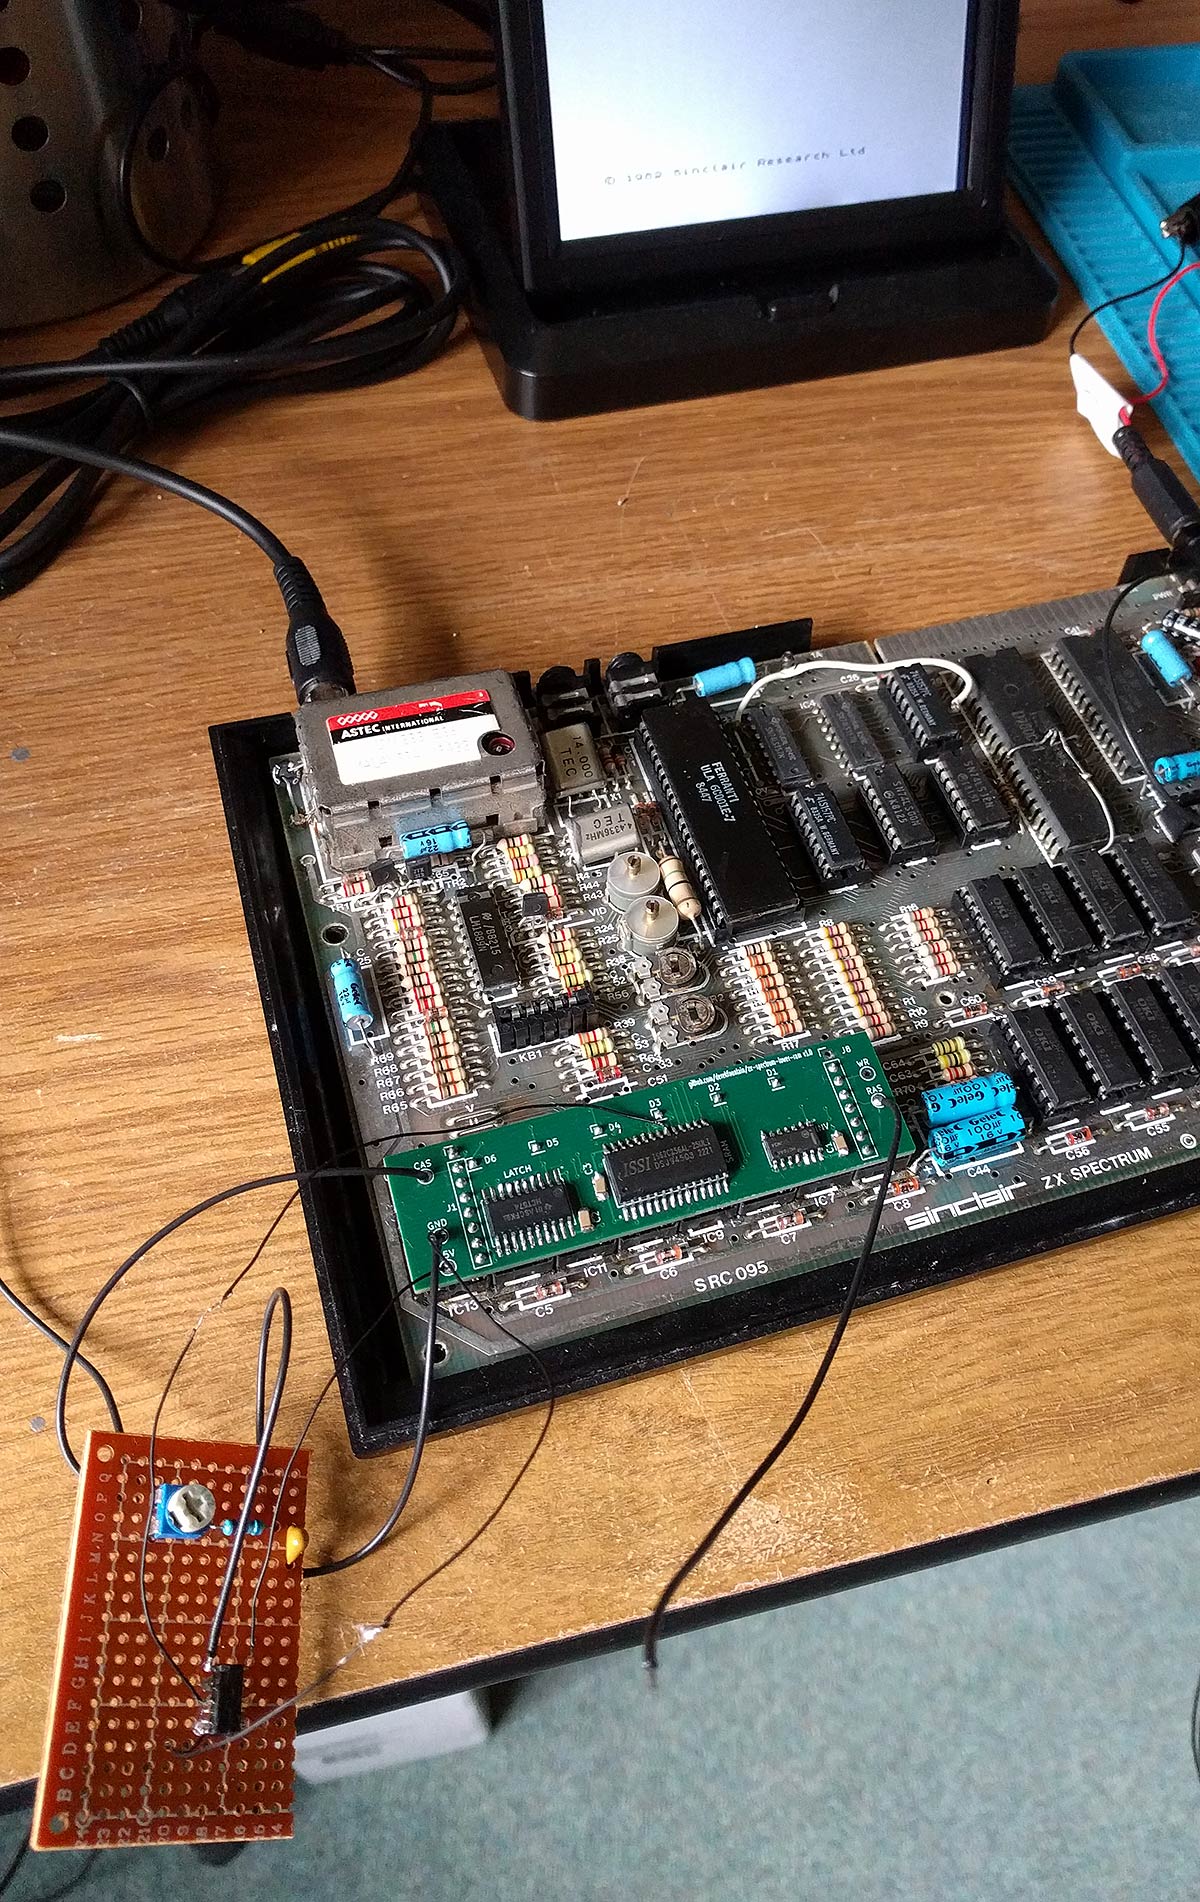
At first glance it looked like it worked, but actually it didn't. The Z80 was happy, but if you look at the screen you can see little artefacts in the display. These constantly flicker around. I termed them "sparkles." They were worst when the Spectrum was just started up; after about 20 minutes they pretty much disappeared. Odd.
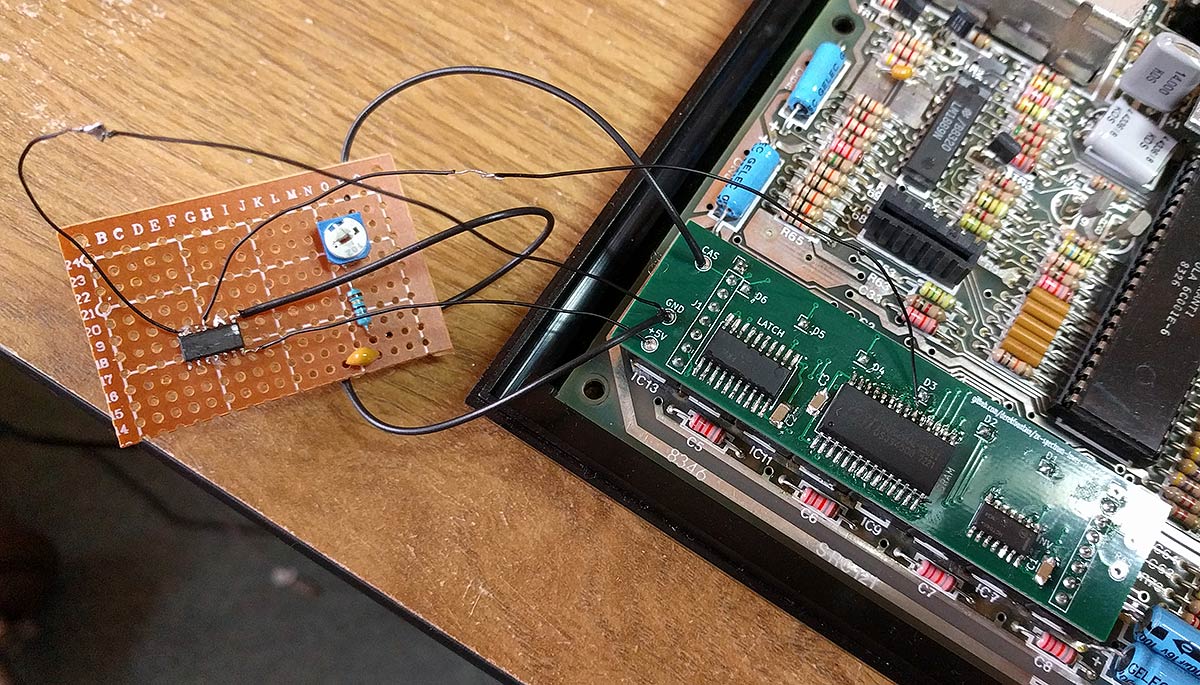
After a lot of reviewing of my circuit and the datasheets of the components I was using I concluded that the problem was that the modern SRAM IC I was using wasn't holding the data on its output bus long enough for the ULA to come and fetch it. The Z80 was OK, but the ULA is a fussier thing. Someone cleverer than me suggested delaying the board's input CAS signal to slow things down just a tad. In classic ZX fashion I lashed up my very own cockroach type thing:
This seemed to solve the problem:
It was time to get v1.1 fabricated. Something else I'd learned was that it's not easy to attach oscilloscope probes to SMD components, so for this version I created a "breakout" board which gave access to test points:
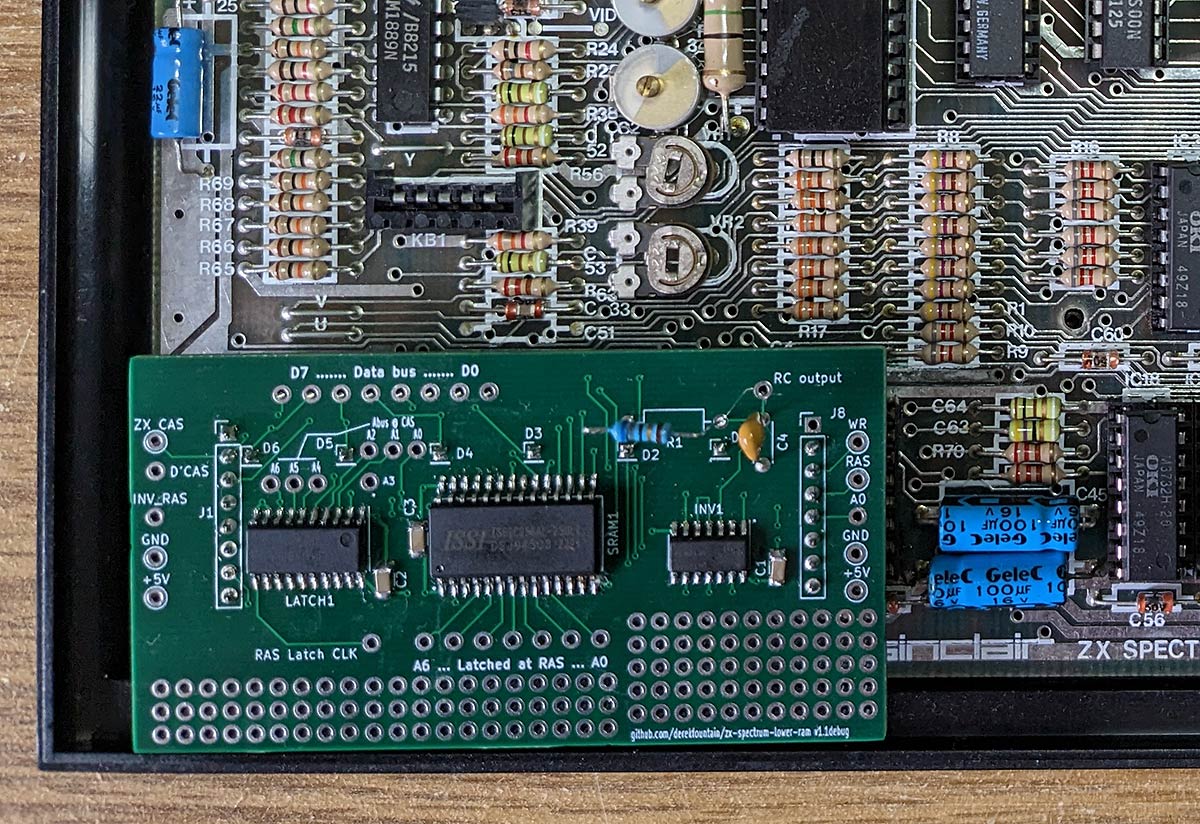
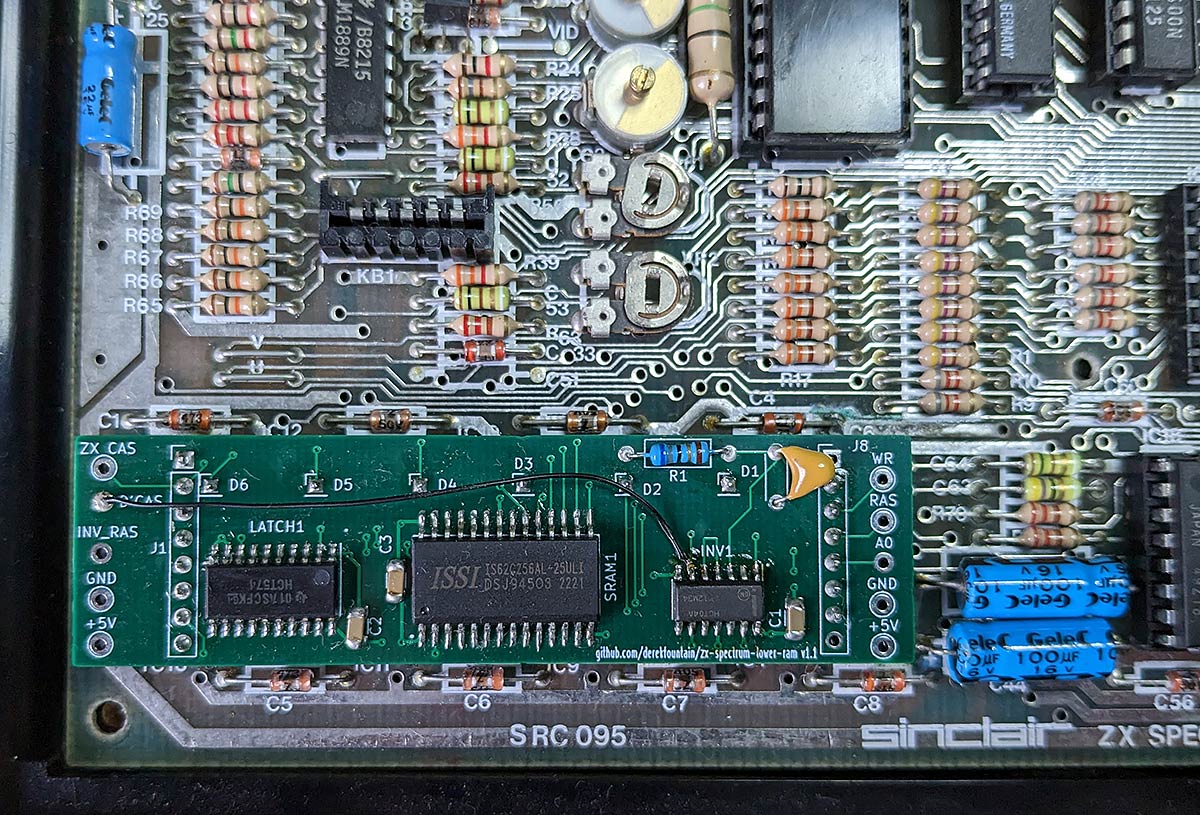
This one worked, and it worked better than v1.0 with the cockroach. "Better grounding and signal integrity" I was advised. I made up a non-breakout version and with just one little bodge it was looking good:
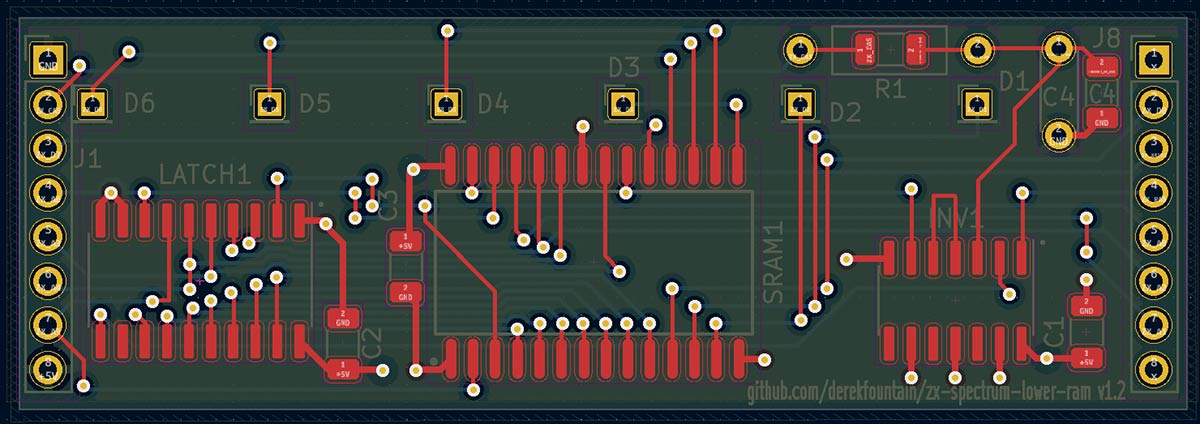
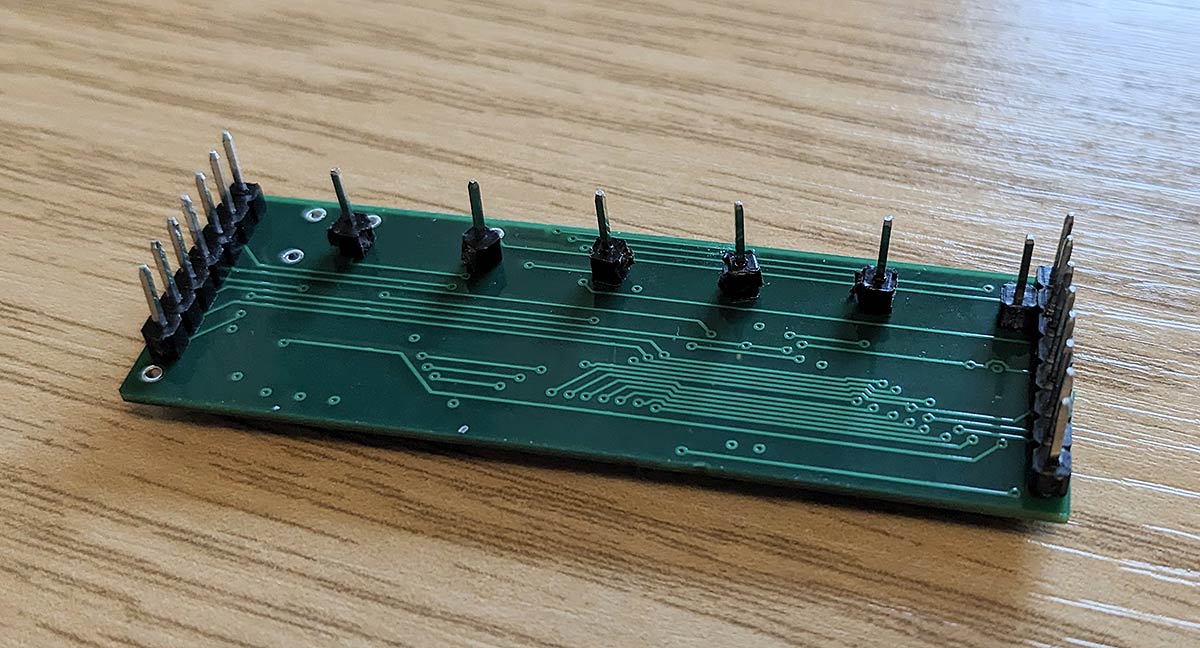
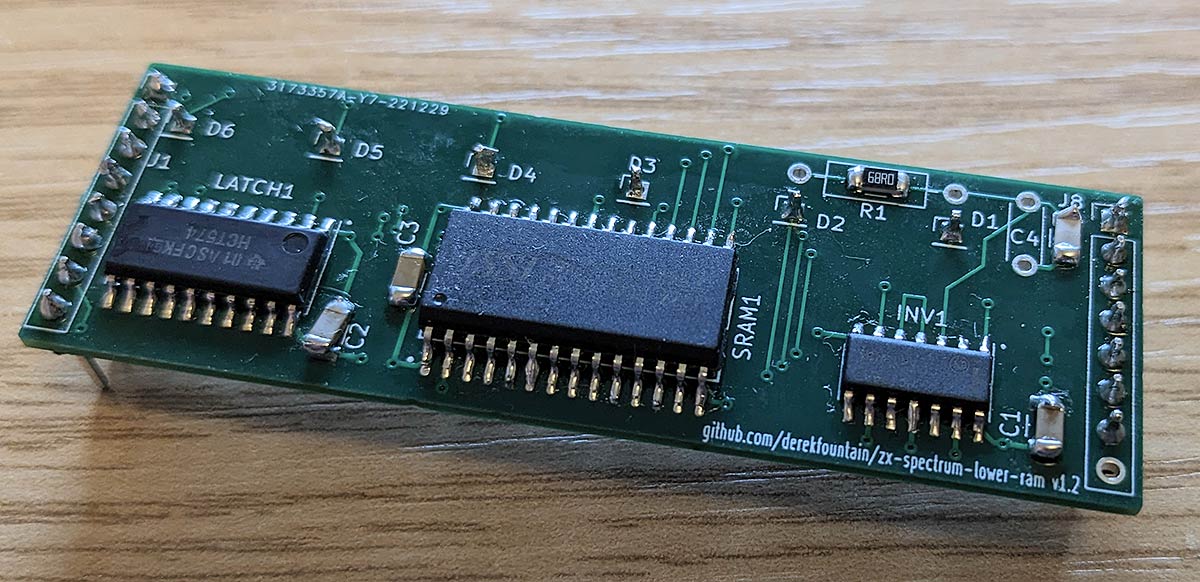
Version 1.2 went off for fabrication. This one lost all the test points and was created on a 1.00mm thick board, as I was becoming conscious that I was going to have to get the Spectrum's keyboard back on at some point. The final circuit and layout looks like:

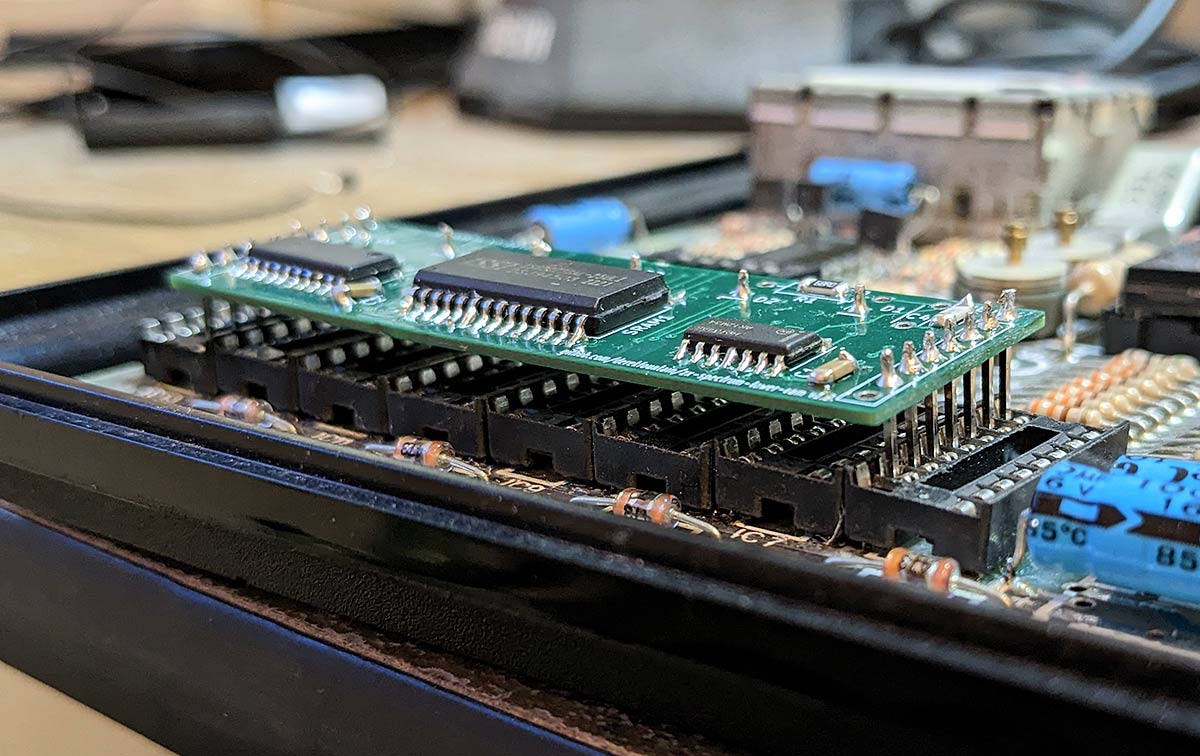
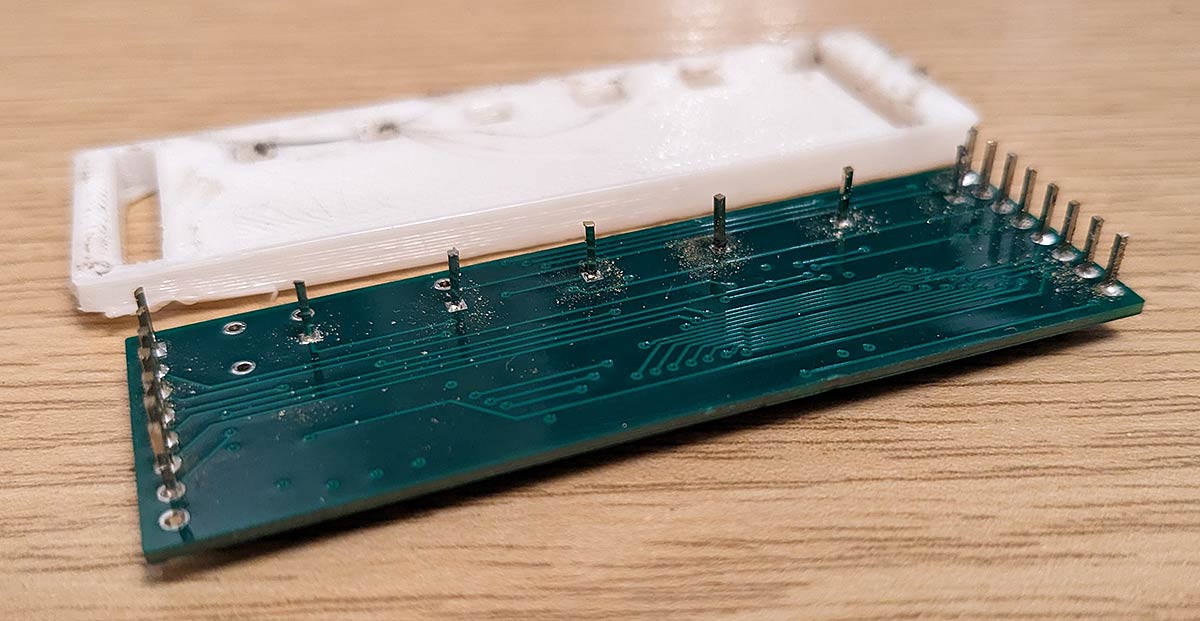
When the boards arrived I made one up and it worked! There then opened another rabbit hole, which was the mechanical challenge of getting the board to fit under the Spectrum's keyboard. I'd used Arduino-style 11mm header pins:
which worked, but made it sit far too high:
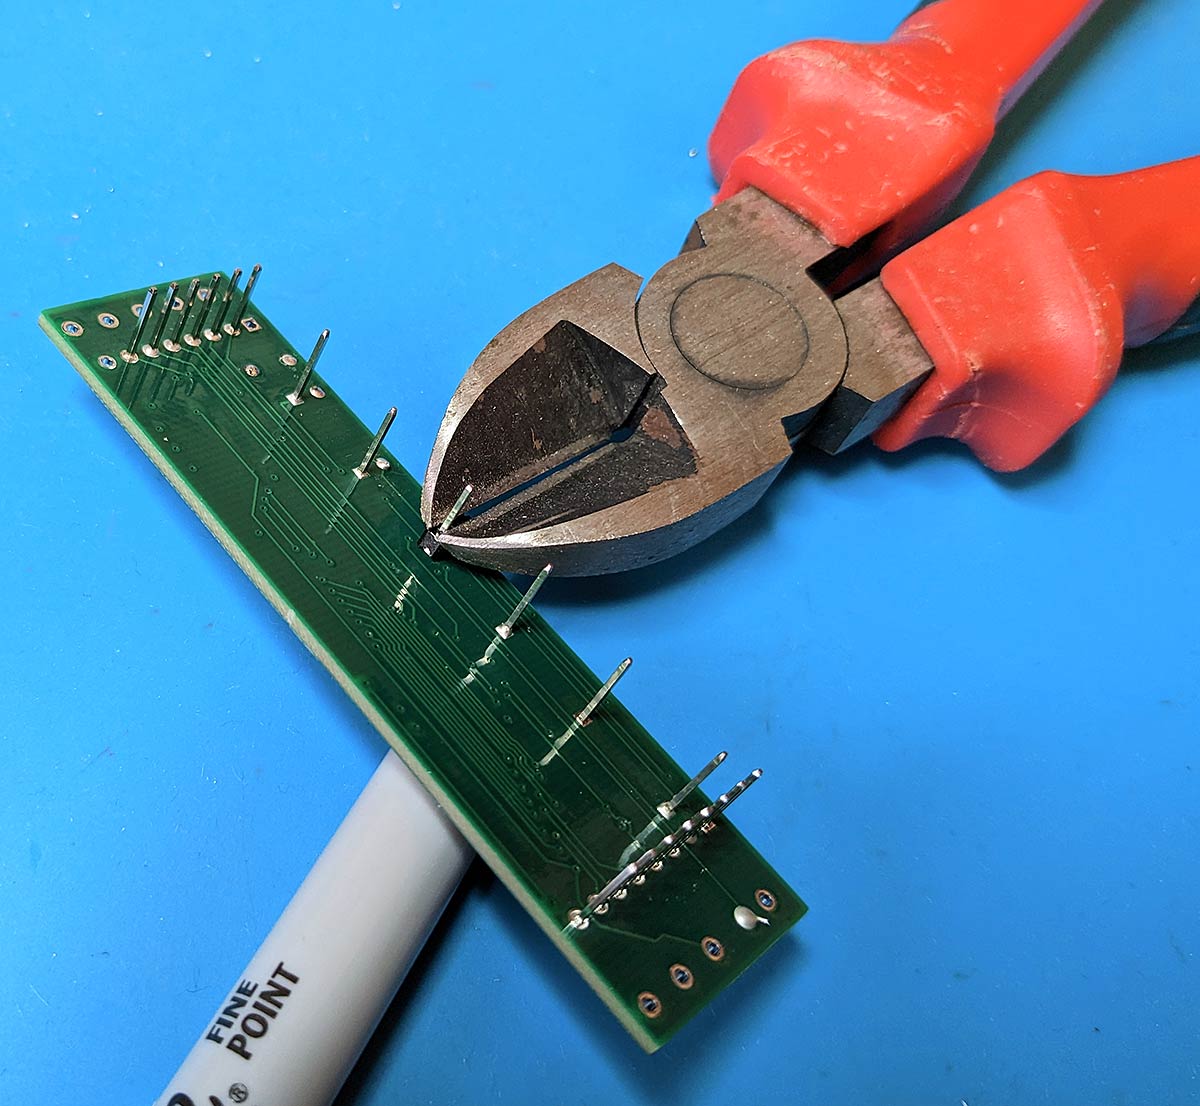
I went back to one of my earlier attempts to see how easy it was to clip the headers to length. Not easy, it turns out. Those headers are really hard so big cutters are required for them, and big cutters tend to mangle the ends of the pins.
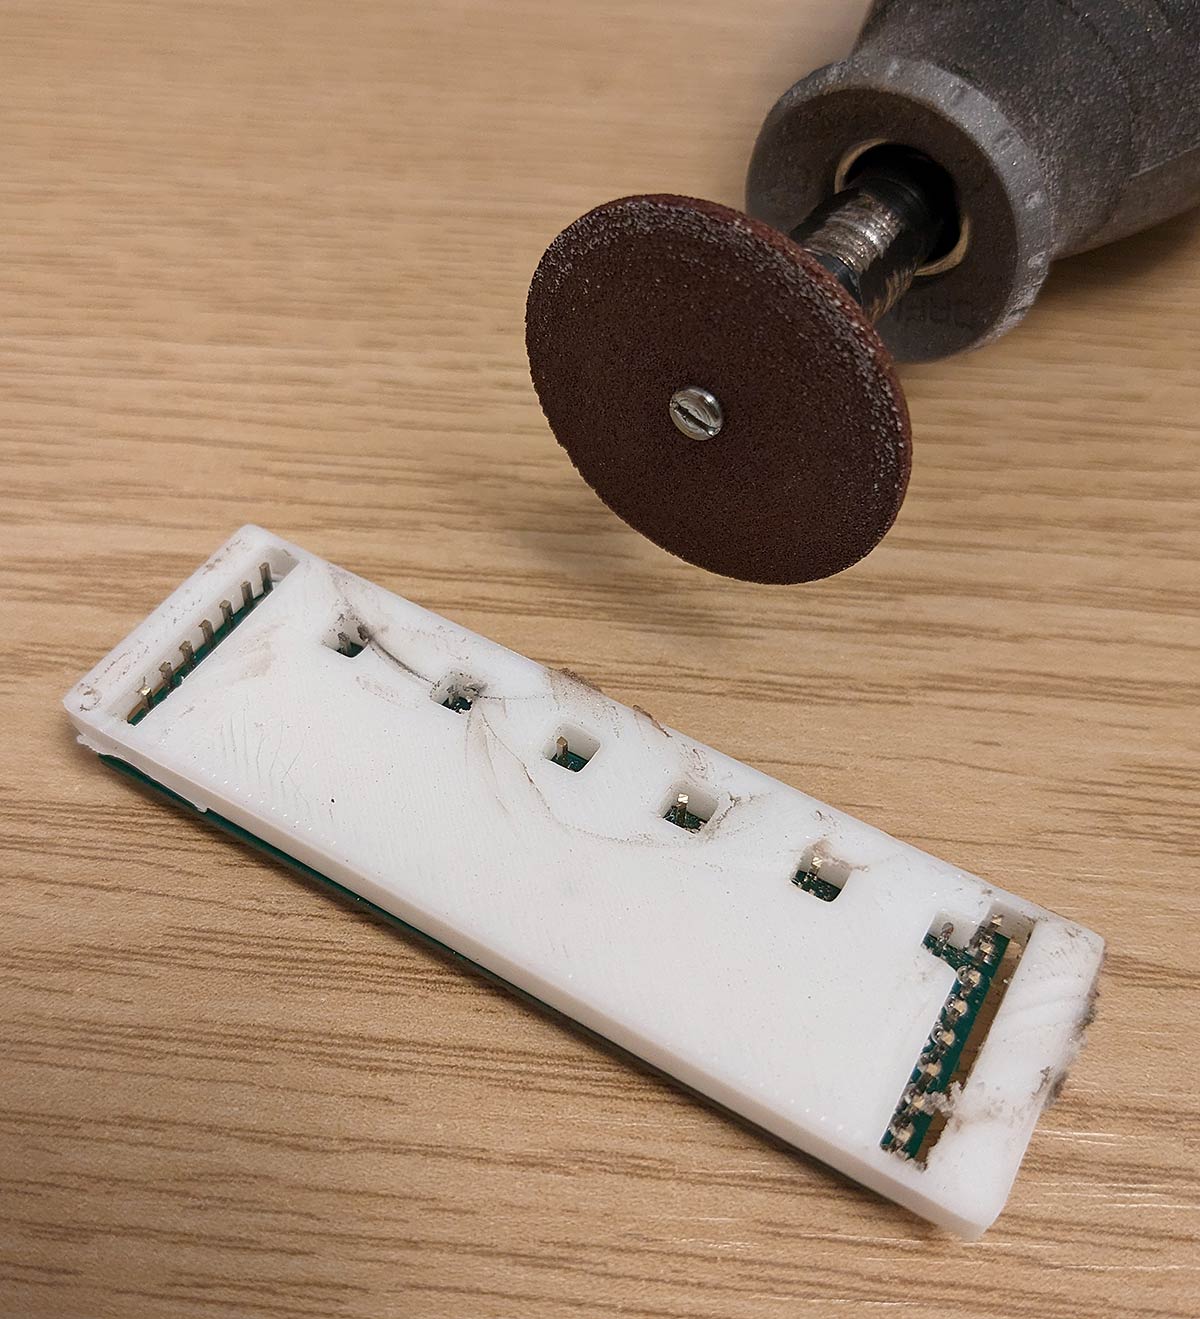
Plan B was to grind the pins down with a Dremel, but that didn't work too well either. The pins all need to be the right length to fit in the sockets; get one too long and the board stands too proud, get one too short and that pin doesn't make contact and the board is ruined. I needed them all to be 4.0mm. The only option, I decided, was to make a jig on the 3D printer to guide the Dremel:
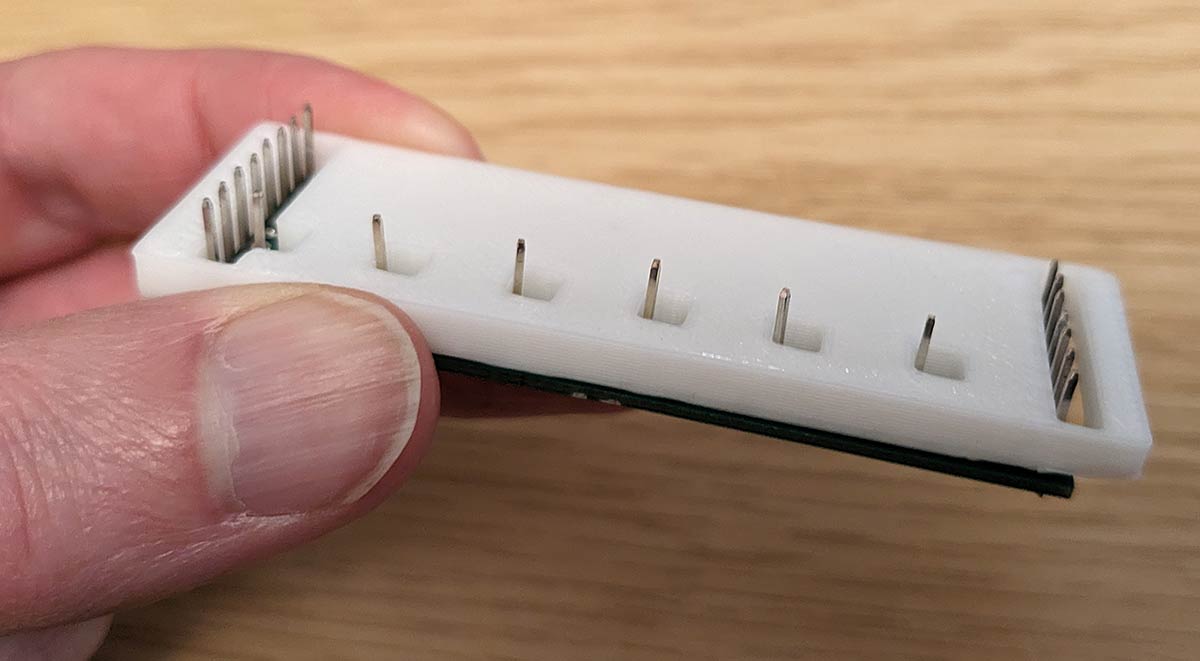
That allowed me to grind down the pins with the precision required:
The result was as required:
which leaves the final board ready to use:
It just presses into the sockets:
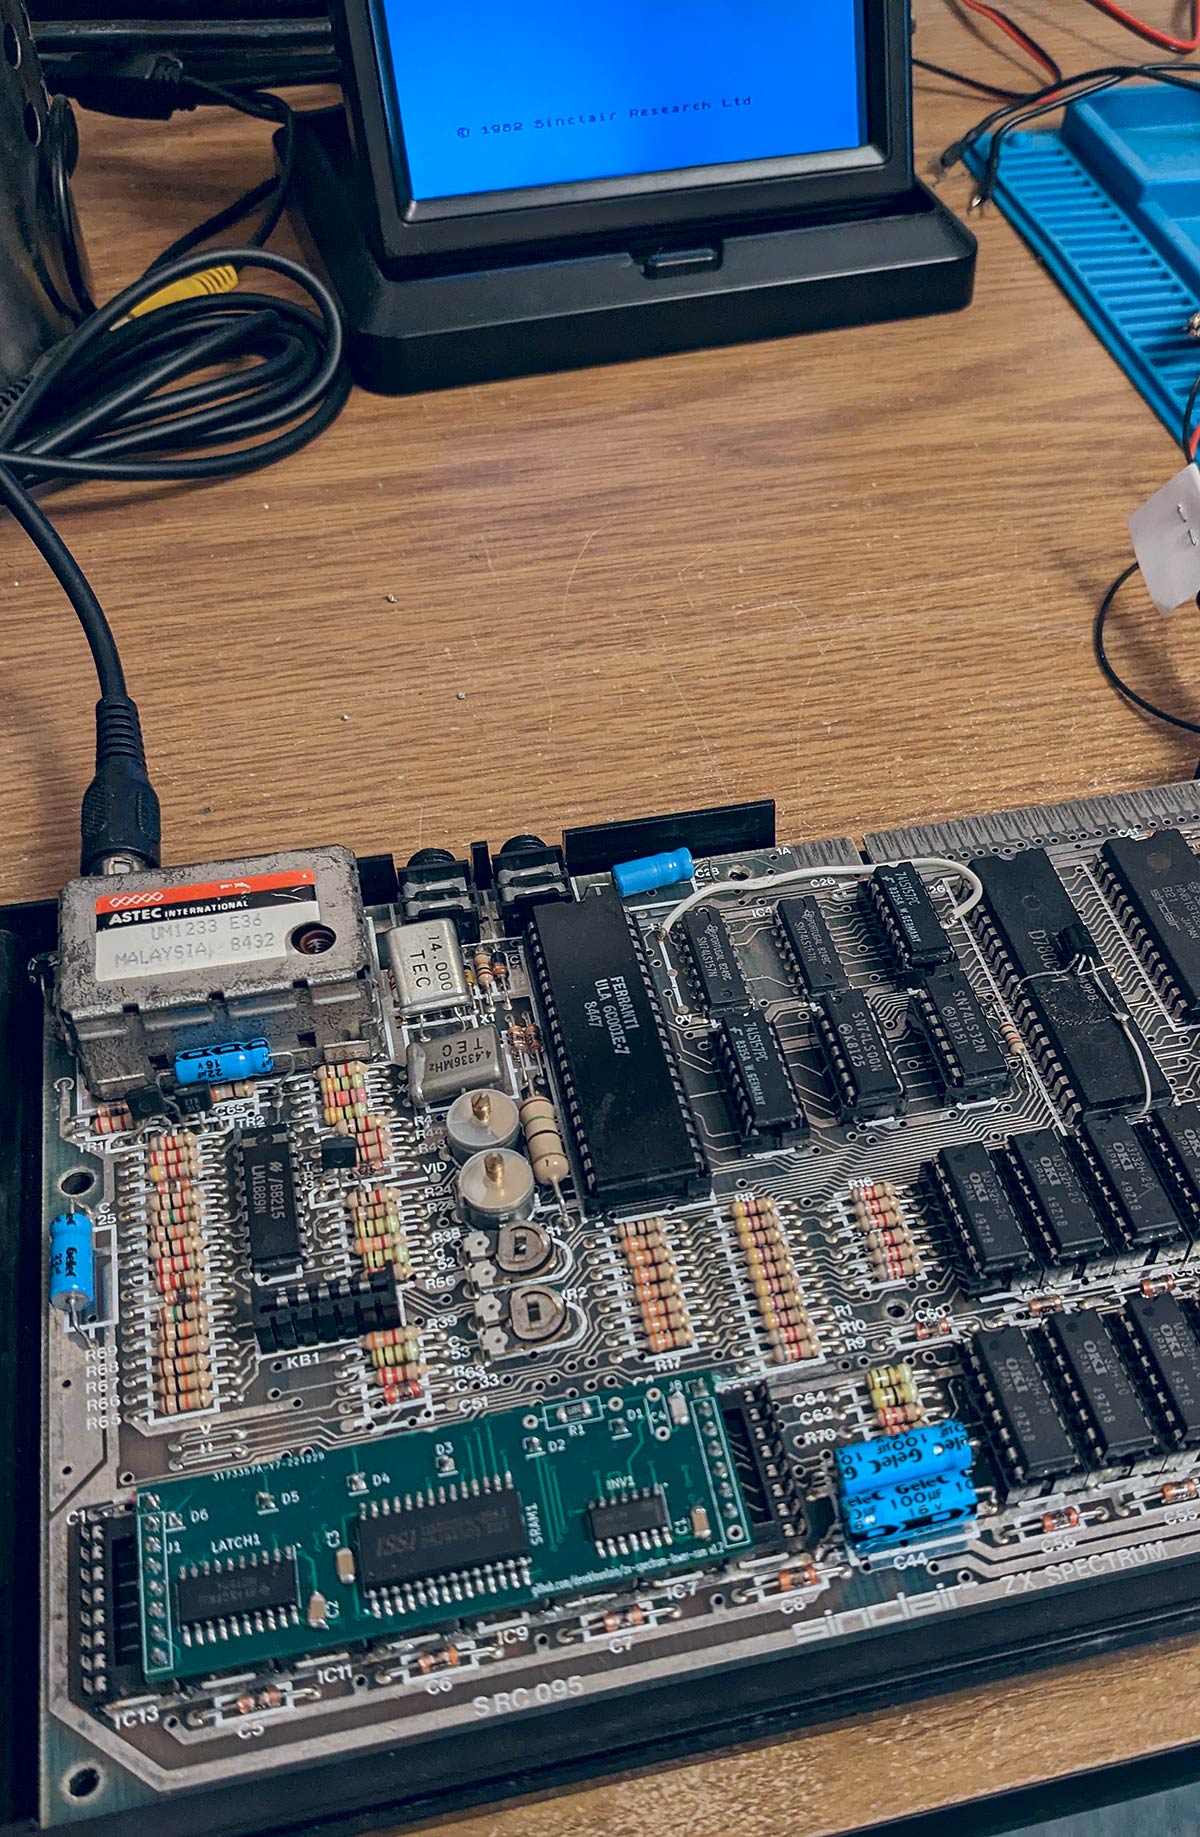
and the keyboard fits over the top:
Success! And it only took a few months and vast amounts of work to create something you can buy from Retroleum for £13!
The project, its design and source files, together with build instructions and the files for 3D printing the jig are all available on my Github page. A few more technical details about how it works are on my website.